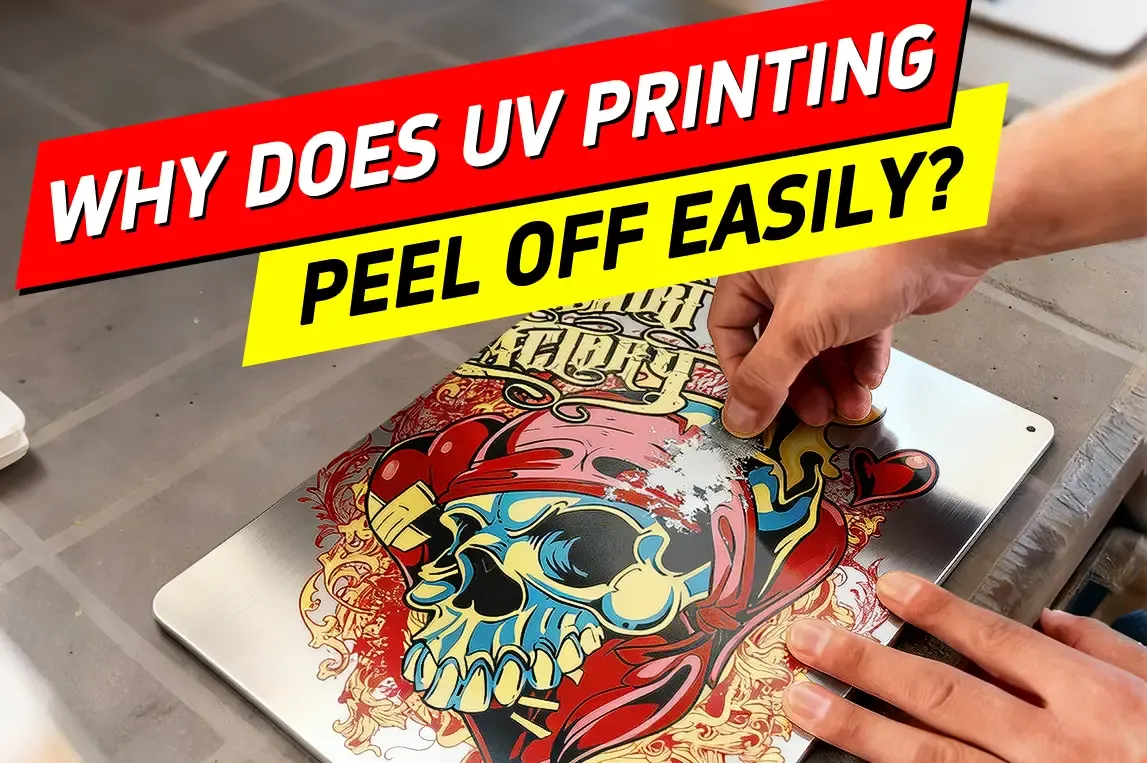
Why Does UV Printing Peel Off Easily? Here Are the Real Reasons and Fixes
UV printing is valued for its instant curing, sharp details, and fast delivery.
But one issue continues to cause costly rework:
The printed image can be scratched or peeled off easily.
Before blaming the printer or ink, remember:
Adhesion failure is rarely caused by just one factor.
It usually results from overlooked details during surface preparation, material handling, or printing settings.
This guide breaks down the real causes behind poor adhesion and how to prevent them in daily production.
Why UV Ink Peels or Scratches Off
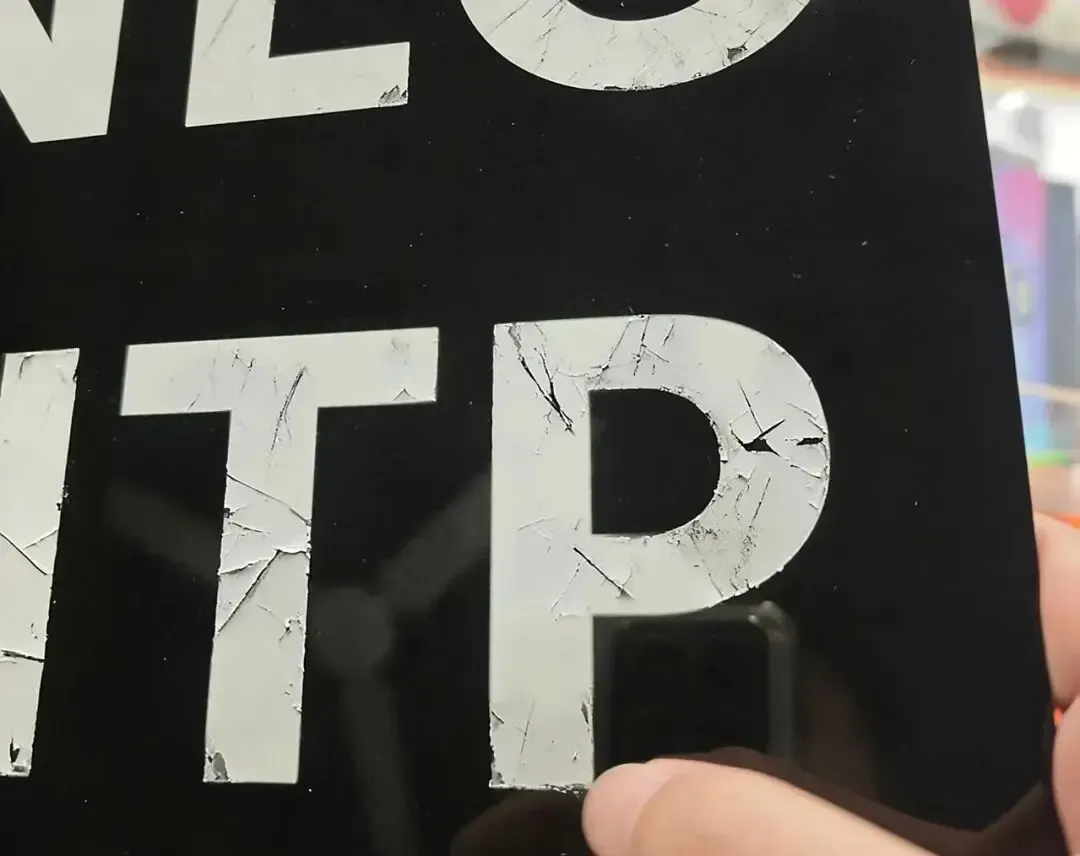
A — Surface Contamination: Invisible but Deadly
Dust, fingerprints, mold release agents, or oil residues on materials like glass, metal, acrylic, and ABS create a physical barrier that prevents ink from bonding securely.
Even if the material “looks clean,” hidden contamination can drastically weaken adhesion.
B — Wrong Primer or No Primer at All
Some substrates are inherently non-absorbent, which makes UV ink bonding difficult.
Common primer mistakes:
- Using no primer on ink-resistant materials
- Using the wrong primer (e.g., glass primer on metal)
- Primer not fully dried before printing
Primer must match the substrate. Wrong pairing = peeling guaranteed.
C — Technical Settings Ignored During Printing
Even the right ink can fail if the process is not properly controlled:
| Technical Issue | Impact |
|---|---|
| Ink not compatible with substrate | Weak chemical bonding |
| Uneven printing / clogged nozzles | Patchy adhesion |
| Excessive ink volume | Ink layer becomes brittle |
| Incorrect curing | Under-cure = soft; Over-cure = fragile |
Proper curing balance is essential for flexible, durable adhesion.
How to Fix UV Adhesion Issues — Practical Tips
Step 1 — Surface Cleaning Comes First
Before printing:
✔ Remove dust
✔ Remove oils & chemicals
✔ Avoid touching the surface with bare hands
Cleaning determines whether adhesion succeeds or fails.
Step 2 — Choose the Right Primer for Each Material
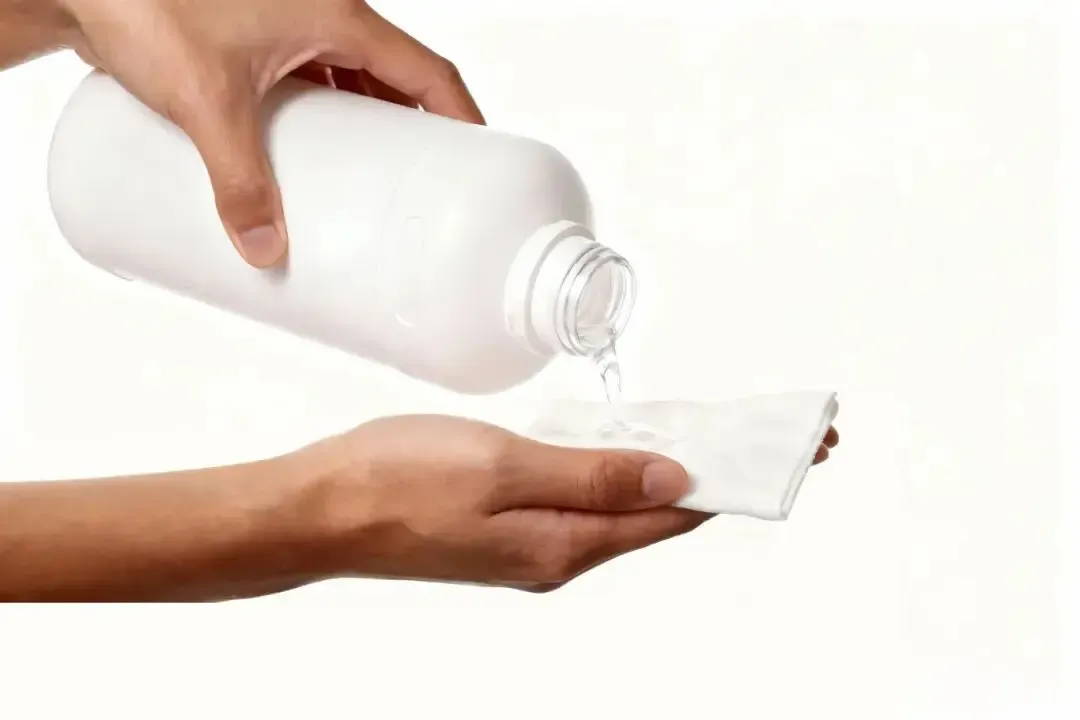
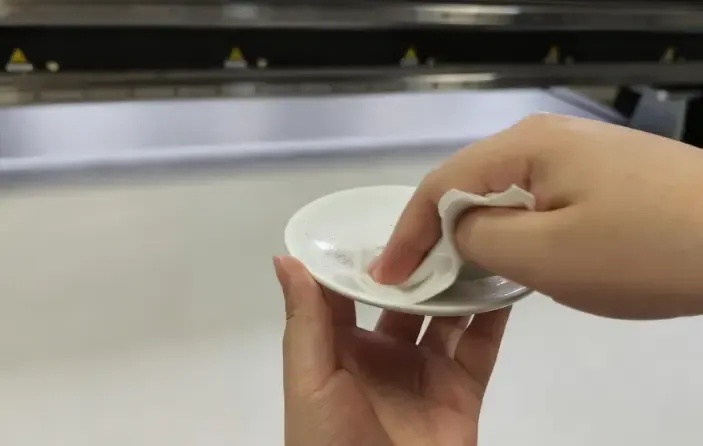
Different materials require different adhesion promoters:
| Material | Recommended Support |
|---|---|
| Glass, ceramics | Glass primer |
| Stainless steel, aluminum | Metal primer |
| ABS, plastic | Plastic adhesion promoter |
| Leather & flexible material | Flexible primer |
Never mix primers for different substrates.
Step 3 — Apply Primer Correctly
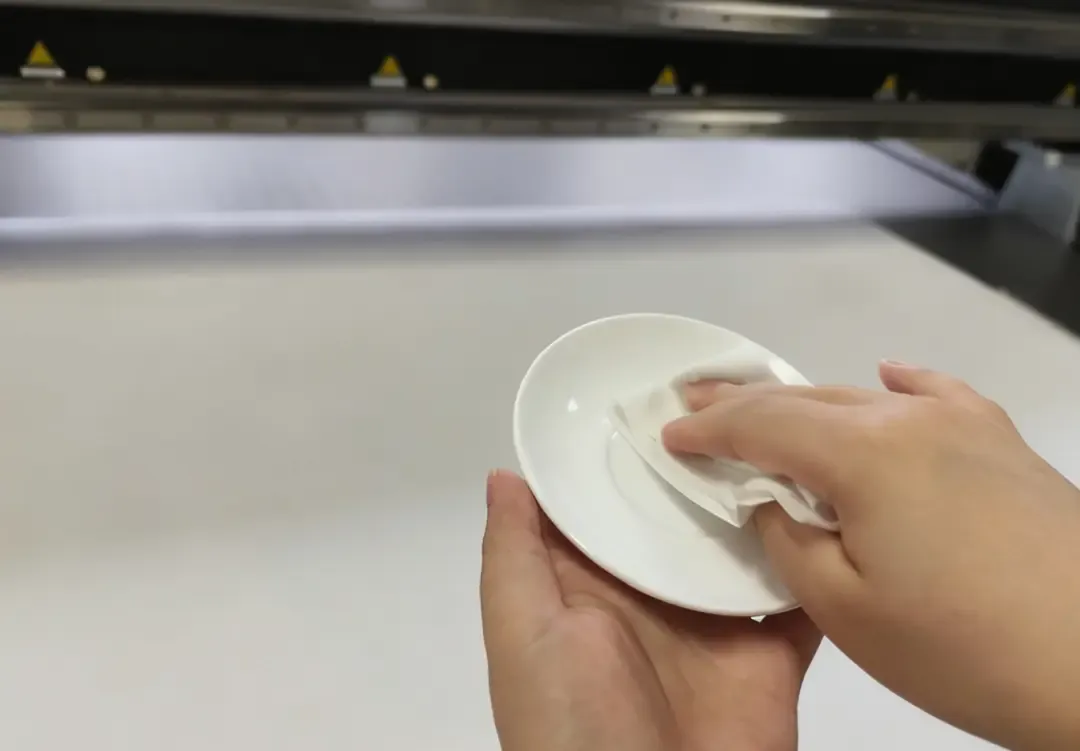
Manual wiping → Ensure full coverage, not too thick
Direct spraying → Preferable for precise or large-scale production
Always allow primer to fully dry before printing
Any moisture trapped between layers = adhesion failure later.
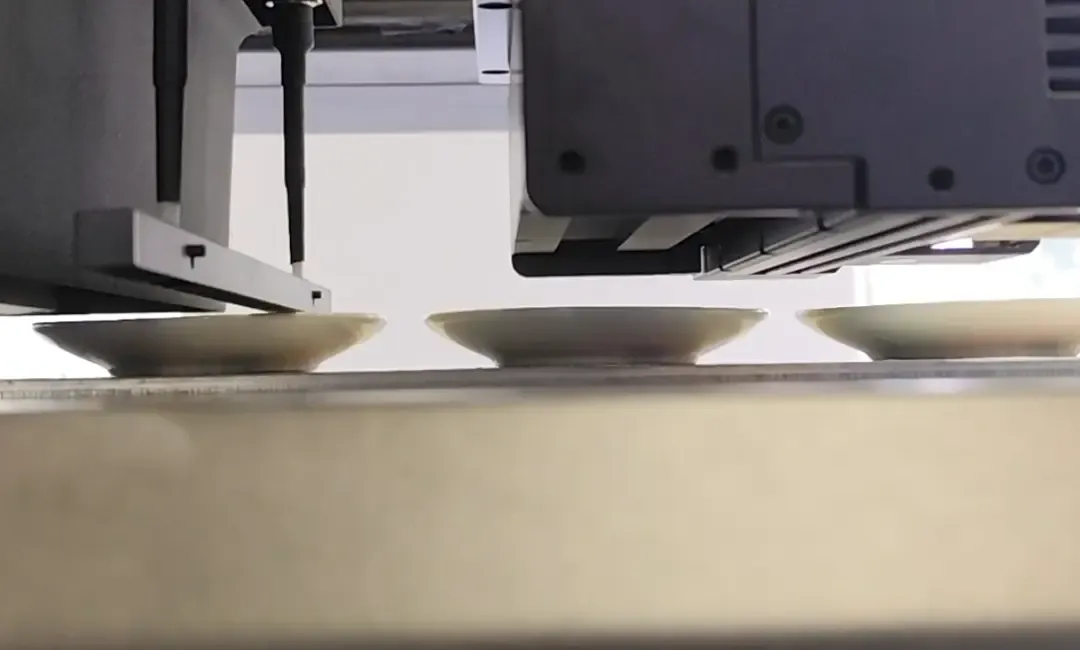
Conclusion: Adhesion Depends on Every Detail
Strong UV adhesion is not determined by equipment alone.
It comes from a full workflow of quality control:
✔ Proper surface cleaning
✔ Compatible primer matching
✔ Correct ink & curing settings
✔ Standardized operating procedures
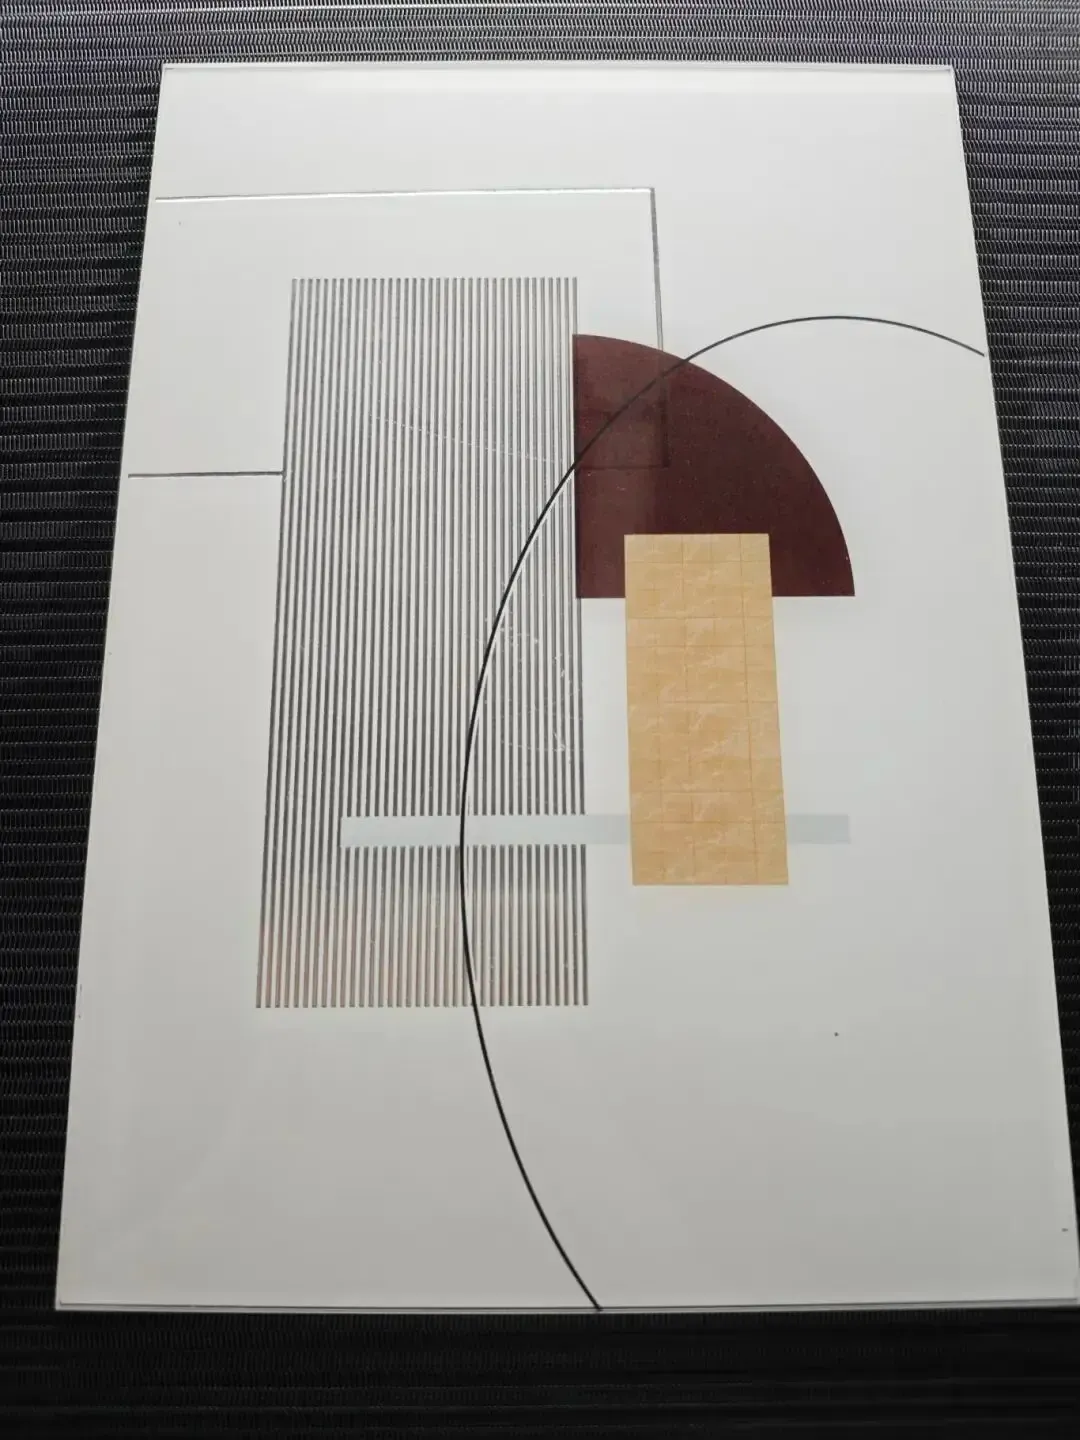
When every step is done right, UV prints remain durable even under:
- Friction
- Folding
- Outdoor exposure
- Long-term use
We Can Help
If you’re experiencing adhesion failures in UV printing —don’t waste time guessing.
Our technical engineers can:
- Analyze your materials
- Recommend the correct primer & ink pairing
- Provide optimal curing and workflow setup
Contact us anytime for a free consultation or sample testing.
Let’s make your UV prints last — not peel.